Transform your event space with custom DIY grass letters by following seven straightforward steps. You’ll need fillable letter forms, artificial turf or moss, plywood backing, and basic crafting supplies. Start by selecting your font and creating templates, then prepare your work surface before cutting and shaping letters. Apply your chosen greenery, add decorative elements, and finish with weather-resistant sealants. Finally, install your creation using stakes or risers. Follow our detailed guide to guarantee your outdoor display stands out beautifully.
Gathering Your Essential Materials and Tools
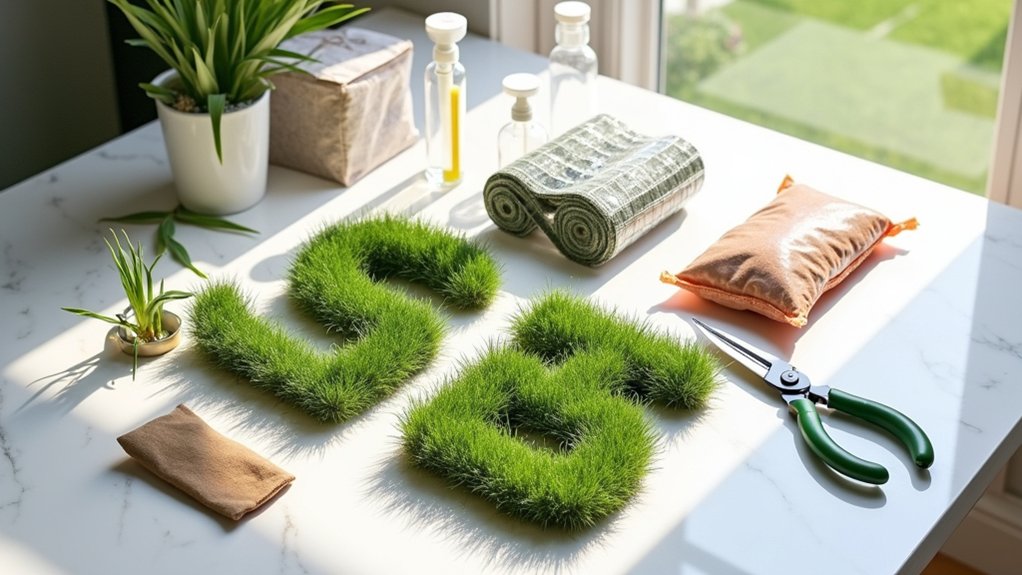
Every successful DIY grass letter project starts with gathering the right materials and tools. Begin your material selection with the core items: fillable letters or foam alternatives, artificial turf rolls, and a sturdy plywood base. You’ll also need essential adhesives like hot glue sticks and silicone glue for secure assembly. This beginner-friendly craft takes about one hour to complete from start to finish. Start by collecting fresh grass shoots from your outdoor space to give your project an authentic natural look. Consider adding foam letters for personalized event decorations that stand out beautifully against the greenery.
For proper tool organization, set up your workspace with sharp scissors, hot glue guns, and basic painting supplies. Don’t forget protective newspaper for your work surface and command strips for eventual mounting. If you’re planning decorative elements, stock up on faux florals like white daisies, artificial lavender, or moss sheets. Keep twist ties handy for securing loose components. Having these materials organized before starting will guarantee a smooth crafting process and professional-looking results.
Planning Your Letter Design and Templates
Before cutting your grass letters, you’ll need to select a bold, condensed font style like Devant Horgen that will remain visible against natural textures. Take precise measurements of your intended display space and scale your letter templates accordingly, ensuring each character has adequate room for grass application and growth variations. You can create custom templates by combining digital font outlines with hand-drawn grass texture guides, maintaining consistent vertical alignment while allowing for organic asymmetry in the final design. Setting the preliminary text layer to Overlay mode helps establish a clear guide for tracing your grass textures with precision. Consider using primary lined templates for initial letter sketching to maintain consistent spacing and proportions throughout your design.
Choose Your Letter Style
Selecting the right letter style forms the foundation of your grass letter project’s success. You’ll want to contemplate both letter aesthetics and font selection carefully to guarantee your design works well with grass textures.
Start with bold, condensed typefaces like Devant Horgen or Soft Vintage Bold, as they provide sturdy structures that support grass elements effectively. If you’re creating educational materials, choose handwriting-friendly fonts with clear ascenders and descenders that incorporate visual guidelines. Sans-serif fonts typically work better than serif styles, offering cleaner shapes for grass integration. Setting your font’s tracking to 75 helps create ideal spacing between letters for applying grass effects.
For a more natural look, think about cursive scripts that create flowing, organic impressions when combined with texture overlays. You’ll find many free font resources that allow for vector conversion, making it easier to add detailed grass effects later.
Measure Before Cutting
With your font style chosen, accurate measurements become the cornerstone of successful grass letter creation. Start by creating paper templates that match your installation space dimensions, breaking complex letters into manageable segments for precise measurement techniques.
Similar to how children learn proper letter formation through zones for alignment, your design should include clear spacing guidelines. Taking inspiration from occupational therapy tools, using sky ground paper can help visualize proper proportions. Dry erase markers allow for easy template adjustments during the planning phase. Use graph paper to scale your design proportionally, ensuring each letter segment maintains uniform dimensions. When measuring your materials, add extra allowances for overlaps and potential adjustments. You’ll want to mark cutting lines clearly with pencil or spray paint, and don’t forget to number your template sections for easier reassembly.
Before any cutting precision work begins, secure your templates with clamps and double-check all measurements. Remember to incorporate a small buffer zone (about 1/8 inch) for minor adjustments, and document your measurements with photos or diagrams for reference during assembly.
Preparing Your Work Surface and Base
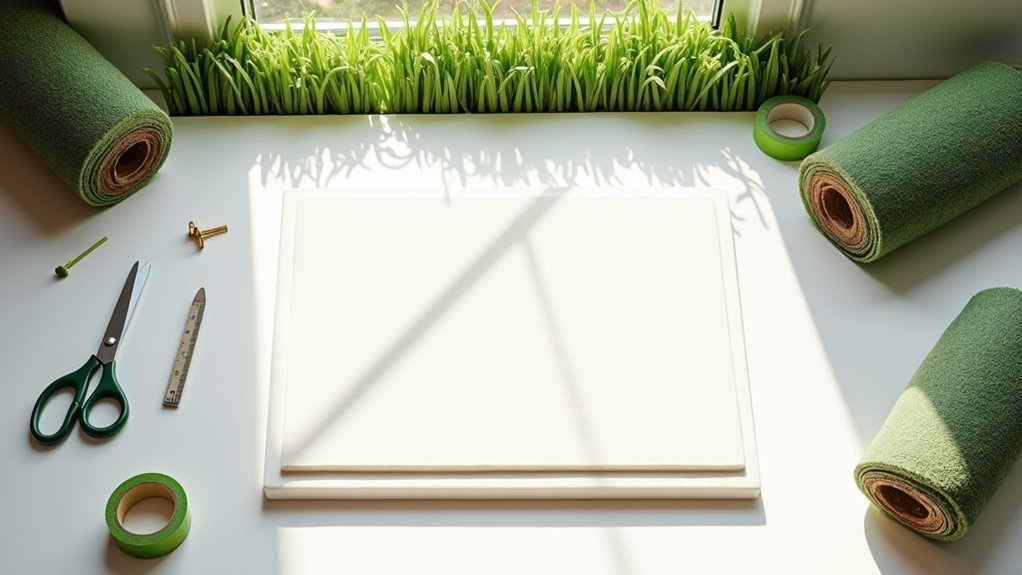
Start your DIY grass letters project by clearing and protecting your workspace with newspaper or plastic sheets to catch any debris and make cleanup easier. You’ll need to gather and organize your tools within arm’s reach, keeping the area clutter-free while ensuring gloves are ready for safety during cutting and gluing tasks. Select your letter base material – either MDF for precision laser-cutting or foam for a lighter weight option – and apply a protective coat to prevent moisture damage before proceeding with the grass installation. Having coco mat material readily available is essential since it provides the optimal growing surface for your plants.
Clean Work Area Setup
Before diving into your grass letter project, establishing a clean and organized workspace is essential for success. Start by implementing proper workspace protection – lay down plywood boards to guard against concrete spills and cover surrounding areas with drop cloths to catch grass particles. Secure your base materials to prevent shifting during installation.
For effective tool organization, create designated zones for mixing materials and sort your tools into accessible containers. Keep adhesives away from sunlight, and maintain clean equipment by wiping down tools and molds with damp cloths between uses. Don’t forget to vacuum or brush away debris to guarantee proper adhesive bonding. Having personal protective equipment ready is crucial when working with concrete materials. Consider using Sky, Fence, Grass paper guides to help with letter spacing and alignment.
Mark perpendicular axes using a straightedge for precise letter placement, and remember to wear protective gear like gloves and masks while working. Place power tools on stable stands to prevent accidents.
Choose Base Materials
Selecting appropriate base materials forms the foundation of successful grass letter creation. When considering plywood options and turf types, you’ll want to balance durability with aesthetic appeal. The base material anchors your design while providing stability for all decorative elements.
- Start with 2×4 plywood sheets as your backing – they’re sturdy enough to support the weight of additional materials while remaining manageable to cut and shape
- Choose between artificial turf (6×8 size) for low maintenance or live grass rugs for a natural look
- Consider incorporating moss or live plants for added texture and visual interest
- Add acrylic risers if you’re placing letters on concrete surfaces to guarantee proper elevation and stability
Remember to match your base materials to your installation environment and maintenance capabilities.
Cutting and Shaping Your Letters
Crafting perfect letter shapes requires careful attention to detail and the right preparation techniques. Start by tracing your designs on paper and creating templates with thick block fonts. Place letters in a well-ventilated workspace when using spray coatings. For precise letter cutting, use sharp craft knives while maintaining steady pressure to prevent tears. Using flexible cardboard side strips allows for smooth curves when shaping rounded letters.
| Tool | Purpose | Best Practice |
|---|---|---|
| Craft Knife | Clean Edges | Replace Dull Blades |
| Chalk | Outline Letters | Mark Direction Arrows |
| Sandpaper | Smooth Edges | Even Pressure |
When applying shaping techniques, use rulers to align straight edges and trim excess material with scissors. Don’t forget to test letter stability on upright surfaces. For special details, create aligned hole patterns using stencils and maintain consistent spacing. Once complete, store your letters in padded containers to prevent damage and keep a repair kit handy for quick fixes.
Applying Grass and Moss to Letters
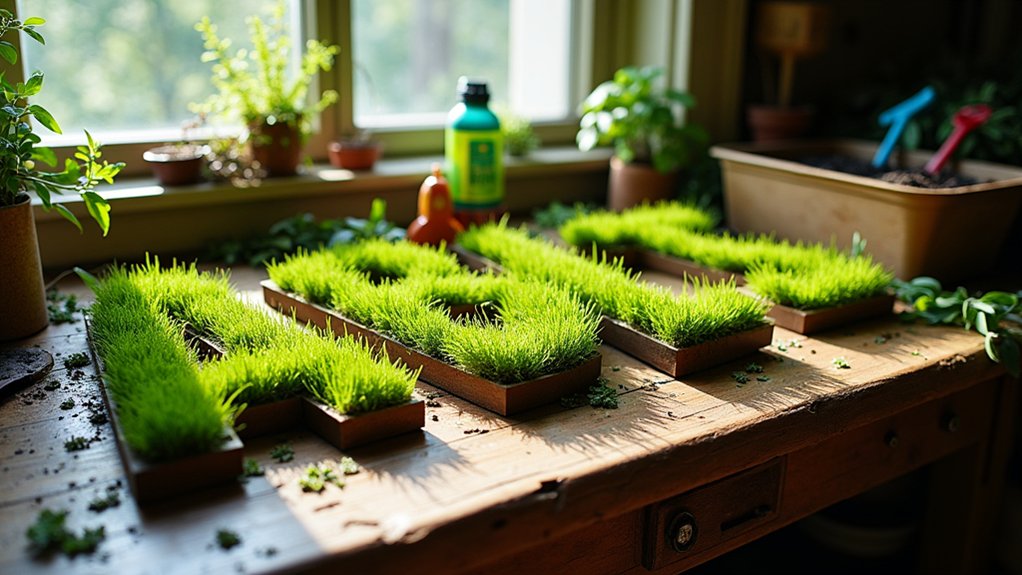
With your letter shapes now precisely cut and prepared, the art of applying grass and moss brings your designs to life. Select either pre-made moss mats or coconut mat with cress seeds, depending on whether you want a static or living display. For successful moss attachment, make certain you’re working with clean, primed surfaces. Using craft store moss mats provides an ideal foundation for this project. The entire process typically takes 10-15 minutes to complete once your paint has dried fully.
Follow these essential coverage techniques for professional results:
- Apply hot glue directly to moss sections while working in small areas to prevent premature drying
- Use spray adhesive for full-surface coverage on larger letter sections
- Layer moss mats carefully over your pre-cut shapes, maintaining gentle pressure
- Secure edges with additional glue and fill sparse areas with loose moss
Finish by spraying with a setting solution to reinforce adhesion and protect your creation from shedding.
Adding Finishing Touches and Details
Once your grass letters take shape, meticulous attention to finishing details transforms them from basic forms into polished, professional pieces. Apply key finishing techniques by sanding rough edges and using woodfiller to create uniform surfaces. Round corners with router bits or hand planes to achieve a seamless look.
For detail enhancements, focus on protective measures that guarantee longevity. Seal your moss and grass layers with clear hairspray to prevent shedding, and apply medium-gloss exterior paint for weather resistance. Don’t forget to test clear acrylic sprays for additional moisture protection. Strengthen your creation by reinforcing joints with white duct tape and installing metal feet for stability. Finally, soften any sharp edges with light sanding after painting, and verify vertical alignment before displaying your completed letters.
Setting Up and Displaying Your Creation
Before displaying your grass letters, proper setup guarantees they’ll stand securely and create maximum visual impact. Successful letter alignment depends on careful planning and proven installation tips to achieve perfect visual balance.
For ideal display techniques and stabilization methods, follow these key steps:
- Lay out letters on the ground first to visualize spacing, using stakes as markers to guarantee proper word symmetry and character spacing
- Insert straight stakes for taller letters with notches facing down, and H-stakes for shorter letters with notches facing up
- Adapt your installation approach based on the surface – use stakes for grass and acrylic risers for concrete
- Test stability immediately after securing each letter, adjusting stake angles or heights if you notice any tilting
Apply gentle pressure when installing stakes and secure letters promptly to maintain their position throughout your event.
Frequently Asked Questions
How Long Do Grass Letters Typically Last Before Needing Replacement?
Your grass letters’ longevity factors typically range from 5-15 years, depending on material quality and care. You’ll get the longest life from UV-resistant synthetic fibers with proper maintenance tips: regular brushing, debris removal, and occasional rinsing. High-traffic event areas may show wear sooner, but you can extend your letters’ lifespan by storing them in shaded areas when not in use and ensuring proper cleaning after each event.
Can Grass Letters Be Used Outdoors During Rainy Weather?
While you can use grass letters outdoors during rainy weather, you’ll need to take specific precautions to maintain their outdoor durability. Consider using water-resistant materials like 5mm Corflute as your base and elevate letters on platforms to prevent direct water contact. For rainy conditions, apply waterproof coatings and guarantee proper drainage around the display. It’s best to monitor the weather forecast and temporarily relocate letters during heavy storms.
What’s the Approximate Cost per Letter for Materials?
You’ll find the cost breakdown varies based on your material alternatives. Using paper mache letters as a base ($2.99) plus a portion of moss sheet ($5-7 per letter), you’re looking at roughly $8-10 per letter for basic materials. If you’re adding artificial plants for decoration, expect to add $2-3 more per letter. Don’t forget to factor in hot glue supplies, which you can spread across multiple letters, adding about $1 per piece.
Are Grass Letters Safe to Use Near Food Service Areas?
For food safety reasons, you shouldn’t place grass letters directly in food service areas. They can harbor bacteria, attract pests, and compromise sanitization standards. If you’re event planning with grass letters, keep them at least 10 feet from any food preparation or serving zones. Consider using food-safe synthetic alternatives instead. If you must use real grass letters, display them in separate decorative areas where they won’t pose contamination risks.
How Much Does a Completed Grass Letter Typically Weigh?
Completed grass letters typically weigh between 40-80 pounds each, though weight factors vary considerably based on size. You’ll find that a standard 4’x4′ letter weighs around 80 pounds when using typical 44 oz face weight turf and 15 pounds of infill per square yard. Smaller letters (2’x2′) can weigh as little as 40 pounds. The total weight depends on your letter’s pile height, infill density, and backing material choices.